Honey Chocolate Cake (for your honey)

I'm getting better at frosting cakes, too! 

I'm getting better at frosting cakes, too! 

Last week marked FOUR YEARS since Judson and I got married, and seven years since we met, which, probably, makes it a lucky anniversary. We’re celebrating in Tenerife, and hopefully right now I am lying on a beach, drinking something out of a coconut and debating whether my next activity should be to take a nap or go for a swim.

But, prior to leaving Edinburgh, of course I had to make a cake to celebrate, and since we’ve moved on from cheesecakes to chocolate cakes, here’s your monthly chocolate cake recipe: a honey cake for your honey.

Here’s the thing, though: This cake is a pain. Almost every ingredient in it requires some kind of prep before you mix it into the cake: the butter has to be softened, the eggs separated and whipped, if you live in a place where you can’t find buttermilk or cake flour, then lemon juice has to be added to your milk, and cornstarch has to be added to your flour, milk has to be scalded, chocolate melted, pans lined, and the list goes on..

But oh man, is it worth it. The last few chocolate cakes that I have made have been airy or fudgey, but I’ve never made one as velvety as this one. And since the cake was taking so long, I enlisted Judson’s help to make the frosting (a job I hate, though I love frosting, and a job Judson loves, although he hates frosting) and I’ll be damned if he didn’t make the tastiest homemade frosting I’ve ever had. It was perfectly smooth and creamy with the richest cocoa flavour I’ve ever encountered in a frosting. 

(I have no idea what kind of frosting is supposed to be on this cake-- the recipe just says 'confectioner's sugar frosting,' and since I couldn't bare to leave such a perfectly moist cake frosting-free, I opted for a simple, deeply chocolate 'cocoa icing,' that blended up smoother than any frosting I've made in awhile.)

So I guess this cake is a good metaphor for being married, even beyond the perfectly pun-able name: in the end, you’ve got a delicious cake, but only after putting a lot of work into it, and even then, there might be moments when you're sure it's all a disaster before it all comes together in the end (like when I tasted the frosting halfway through the process and it had the consistency of dried cement and tasted so bitter I could barely swallow it).

the verdict:

5 spoons out of five. This cake has a rich and velvety texture from the honey without being cloyingly sweet, and the frosting actually tastes like chocolate-- not just like powdered sugar. It's rich and decadent, and the perfect triumph after all the work you'll have to put in to actually make it. 

One year ago: Fancy tomato soup (and an embarrassing story)

The recipe:

Honey Chocolate Cake

the directions:
Cake:

Note that this recipe requires everything to be done in a certain order, so I've tried to put things below in the order you should do them to avoid the mad scramble I had halfway through. Follow everything below to the letter and you'll have an easier time than I did!

Remove butter from refrigerator and allow to come to room temperature while you prepare everything else.|
Line 2 round cake pans with parchment on the bottom.
Preheat oven to 175C/350F.
If making your own buttermilk, add lemon juice to milk as above and set aside.
If making your own cake flour, sift together the cornstarch and flour as above.
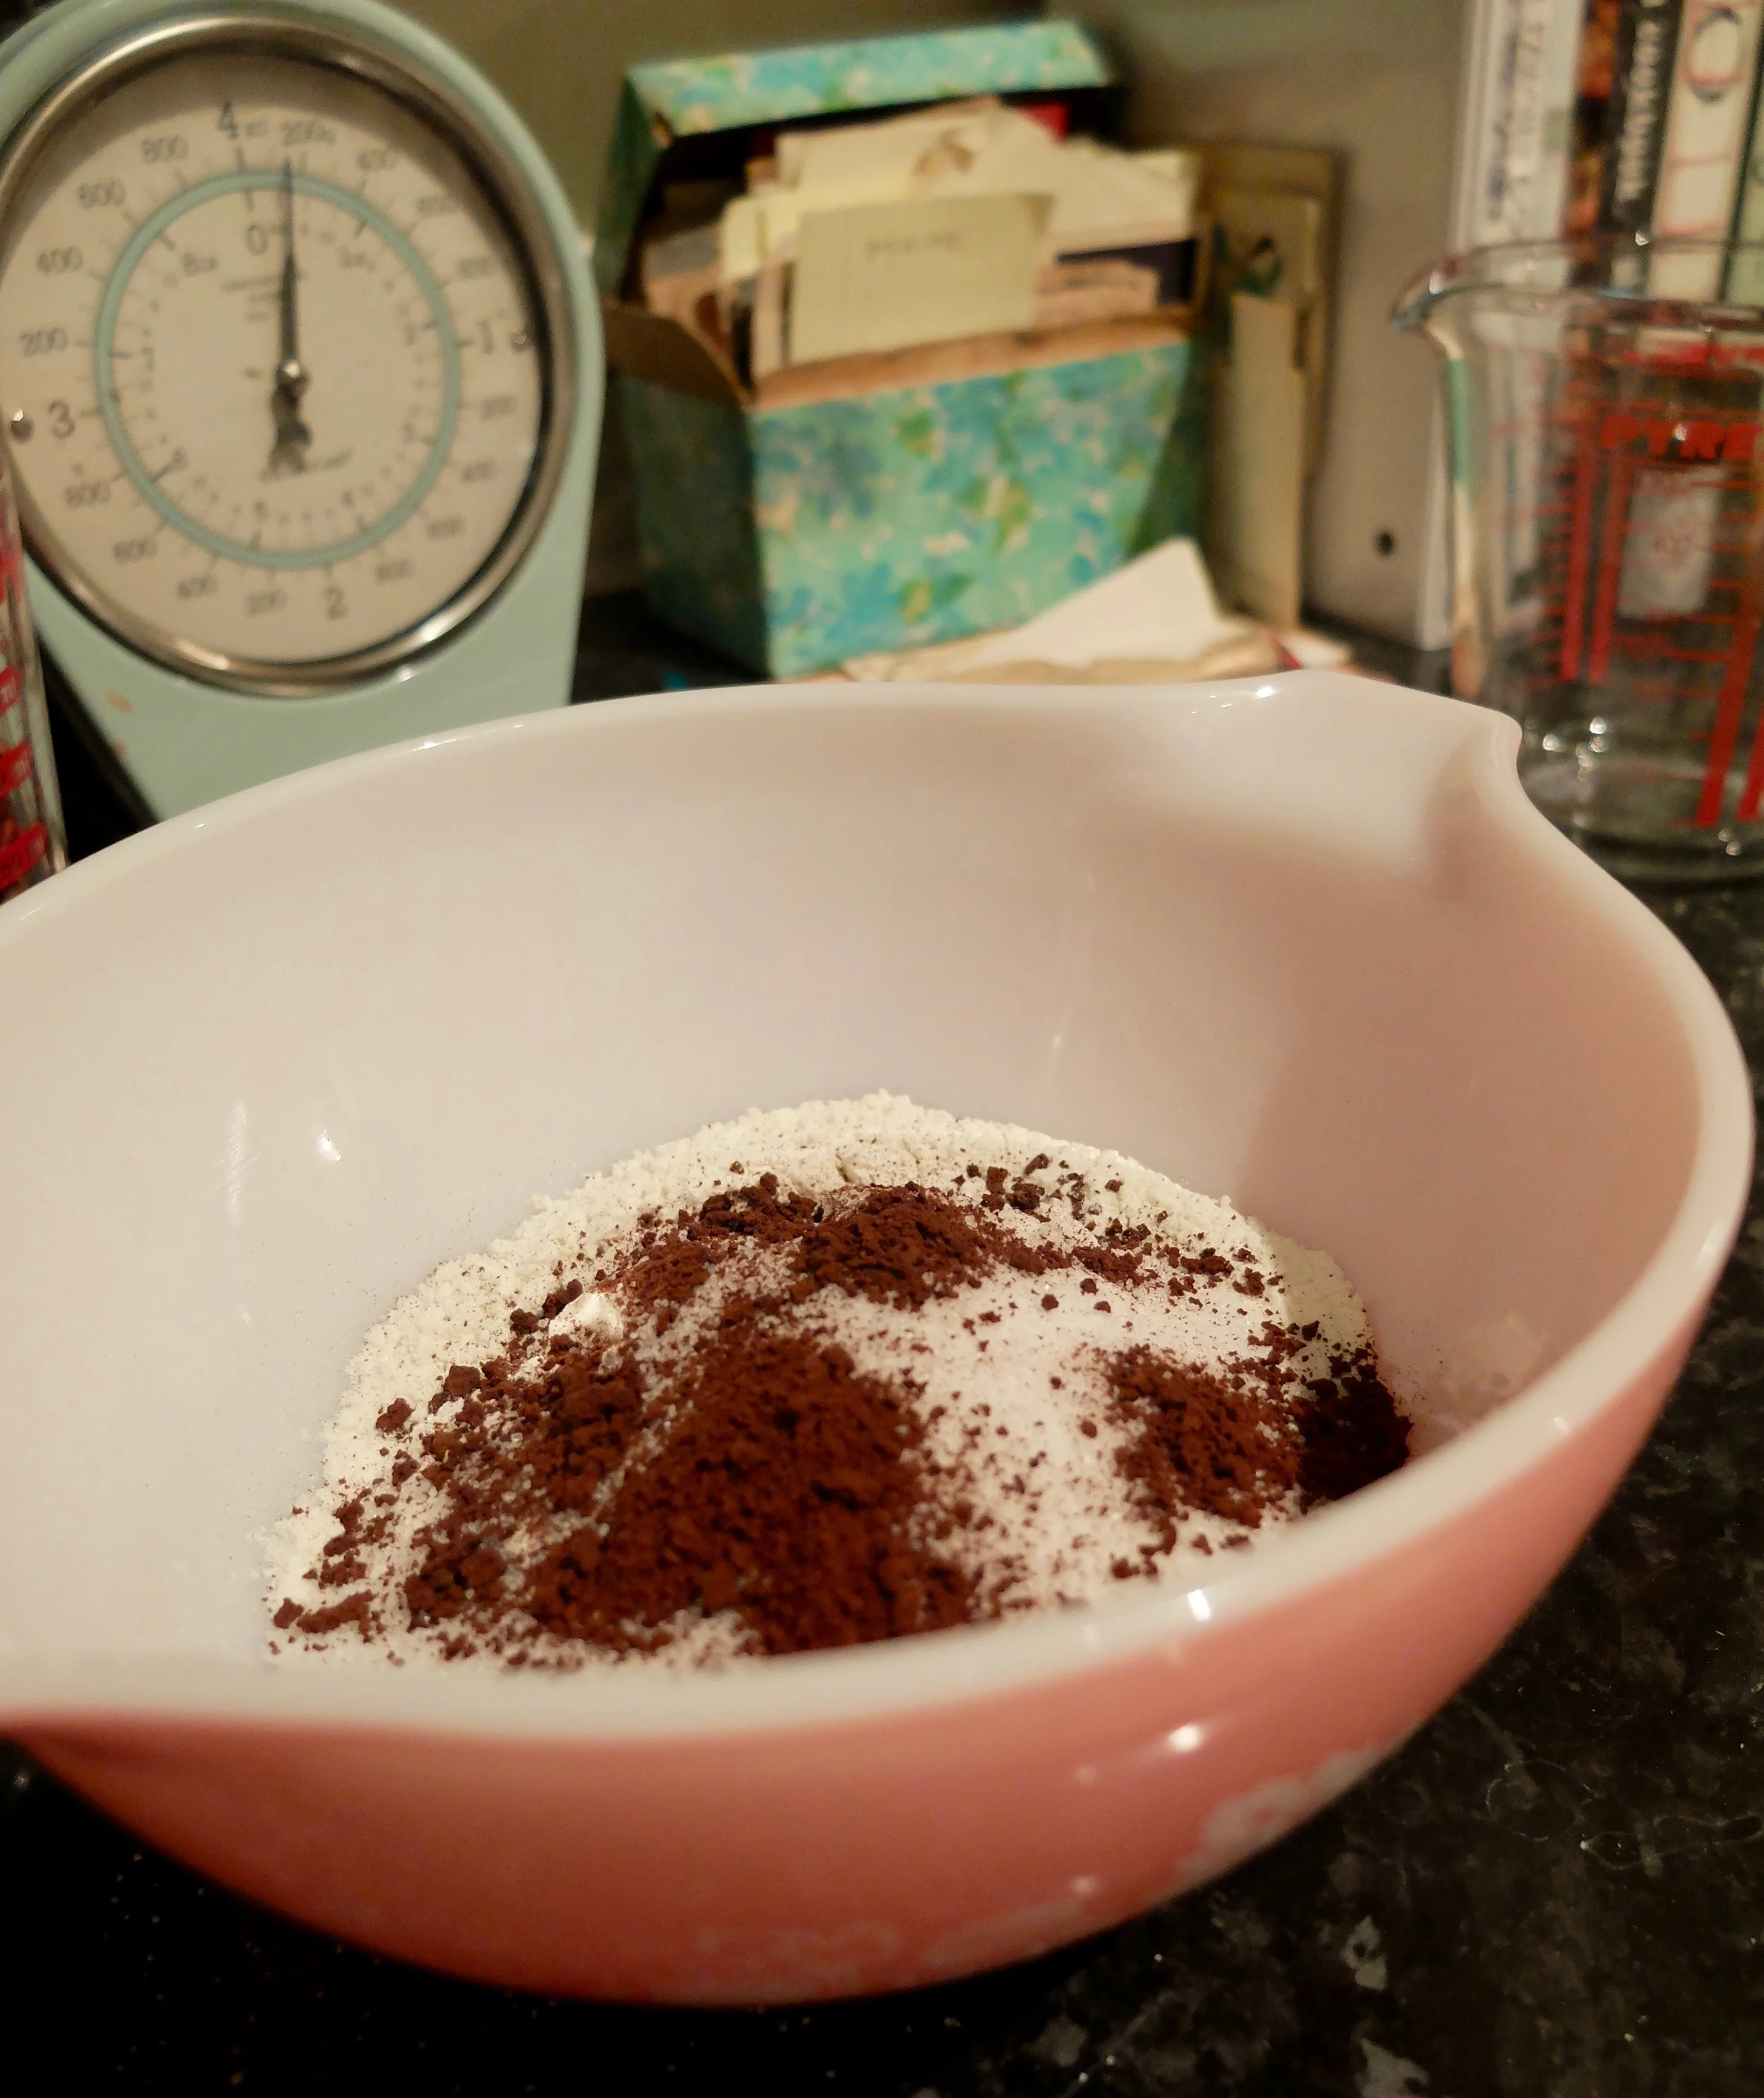
Sift baking powder, salt, and baking soda into the cake flour and set aside.
Melt the chocolate and set aside.
Separate the eggs, set the yolks aside, and beat the whites until stiff but not dry.
Add ¼ c sugar to the egg whites, then beat again until very stiff and glossy.
Set beaten whites aside.
By this time, your butter should be close to room temperature so you can proceed with the recipe.
Cream butter, remaining ½ c sugar, and vanilla.
Add yolks and beat well.
Add chocolate (now melted but cool) and blend.
Gradually beat in honey.
Scald the milk on the stove or in the microwave.
Meanwhile, add sifted flour mixture and buttermilk to chocolate mixture, then beat until smooth.
Fold egg whites gently into batter, then stir in the scalded milk until mixture is of uniform consistency.
Pour into prepared cake pans and bake 20-30 minutes until a pick inserted in the middle comes out clean.
Allow to cool completely, then frost.

frosting:

Blend melted shortening, salt, and cocoa.
Add milk and vanilla and beat well (mixture will be dark and grainy).
Add powdered sugar in 3 parts, blending after each.
If mixture is too thick, add a few drops of milk and cream until silky smooth.
Frost the cake and enjoy!

the ingredients:
the cake:

¼ cup butter, softened to room temperature
¾ c sugar, divided
½ tsp vanilla
2 eggs, separated
4 oz unsweetened chocolate, melted and cooled
½ c honey\
2 c cake flour, sifted (make your own cake flour by placing 2 tbsp cornstarch into your measuring cup then filling with flour, for a total of 4 tbsp cornstarch for 2 cups of flour)
1 tsp baking powder
½ tsp salt
½ tsp baking soda
½ c buttermilk (make your own by placing 1 ½ tsp lemon juice into your ½ cup measuring cup, then filling with milk and leaving stand 5-10 minutes until slightly thickened)
½ c milk, scalded (heat milk until tiny bubbles appear around the outer rim but milk does not boil)


the frosting:

¼ c shortening or Stork, melted
¼ tsp salt
½ c cocoa
1/3 c milk
1 ½ tsp vanilla
3 ½ c powdered sugar, sifted & divided

Leg of Lamb with White Wine and Herbs

This week marks four years since Judson and I got married, and seven years since we first met, so we are off celebrating in Tenerife (an Spanish island in the Atlantic) all week long!

But I would never leave you without some celebratory recipes, so here’s a lovely fancy lamb recipe to make next time you have (a lot of) extra cash and some (very fancy) company coming over. Here’s the thing: I was trying to get this made during February, which, over here in the UK is Lamb Lovers’ Month. I thought this would be the perfect dish to make in honour of that… but then I went to the butcher shop and realised how expensive a butterflied, de-boned leg of lamb is.

The answer: very.

Last year to celebrate our anniversary, I made prime rib and the world’s most complicated key lime pie recipe. They were both amazing, and I was so proud of myself for how delicious (and easy!) the prime rib ended up being. I rationalised it in my head because the cost of the prime rib was much lower than the cost of two people going out for dinner… but that is most definitely not the case here. I never had any idea how pricey lamb was, so as soon as I realised how expensive it is, I immediately realised this would have to be our anniversary dinner. And man, was that expense worth it.

I wasn’t holding out a lot of hope for this recipe: Judson and I are both marginal lamb fans at best (though I have made some pretty awesome lamb recipes over the past year), and the marinade was just kind of basic (I thought), AND the biggest problem? This is meant to be cooked on a grill, which I obviously do not have access to in a country that rarely crests 20 degrees Celsius. So I thought we’d mess it up (and I’m lumping Judson in here because you’d better believe he got involved once I found out how expensive this meat was).

But I was totally wrong.

You know how usually when you marinate something, it might become more tender, or it might become saltier or sweeter or something, but you usually can’t taste each individual ingredient in the marinade in the final product? (No? Just me?) Not so in this recipe: the marinade imparted a strong rosemary flavour and an amazing level of bitter-sweetness from the wine. Plus, the oil created a delicious crust and helped to seal in all the moisture. This lamb tasted like a perfectly tender, perfectly seasoned steak, and I think if I had been blindfolded there is no way I would have identified it as lamb.

The only downside to this recipe is that you have to procure for yourself a deboned, butterflied leg of lamb—but your butcher will be able to help you out there, and though the original recipe calls for a 4-6 pound piece of meat, we scaled down based on the butcher’s recommendation for two people (and still got two meals each out of it!). The marinade is easy and if you have an upcoming celebration, I’d encourage you to give this a shot. It is, without a doubt, the best lamb I’ve ever tasted—and definitely the best I’ve ever made!

The verdict:

5 spoons out of five. It was worth the price to try this, and hands down worth the ease with which we made it. I’m already hungry just thinking about the leftovers.

New! One year ago: Prime Rib of Beef

The recipe:

Butterflied Leg of Lamb

The directions:

Mix together all ingredients except for lamb.
Place lamb in a shallow dish and pour marinade over it.
Cover tightly and marinate in the refrigerator for 8-10 hours or overnight, turning occasionally.
Drain marinade and place meat in a large oven-proof dish.
Preheat broiler to medium, then place lamb approximately 6 inches from element.
Cook lamb in 10 minute increments, basting with additional wine in between.
Cook 40-45 minutes until lamb is pink in the middle but warmed throughout.
Allow to rest 5-10 minutes, then carve and enjoy.

The ingredients:

½ c vegetable oil
¼ c white wine + additional ½ c for basting
2 tbsp parsley, chopped fine
4 cloves garlic, peeled and smashed
2 bay leaves
1-2 tbsp rosemary, chopped coarsely
1 large onion, chopped coarsely
1 tsp salt
1 leg of lamb, boned and butterflied

Walnut Butter Cookies

When I started this blog, I didn't like walnuts. I found them bitter and greasy, which is a terrible combination, and I didn't like the texture, which I deemed less crisp than pecans (an objectively superior nut). And maybe it's the fact that I grew up making visits to my great-great-aunt's house in Forsyth, Georgia, where she would give me a pecan-picker and send me out into the yard to gather as many of the tastiest papershell pecans I've ever tasted, but I always felt like walnuts were the nuts for people who couldn't get their hands on good pecans. Well, friends, I now live in Scotland, where pecans are just as expensive as walnuts and... honestly, only so-so. I've spent my entire adult life swapping pecans and walnuts in any recipe that calls for them, but then I started this blog, and something strange happened.

Sometime around September, when I made this Courgette Walnut Bread, I started to like them. And by the time I made this Orange-Infused Cream Cheese Nut Bread, my opinion was firmly pro-walnut. (This was an exciting development for me, as nearly all of Eleanor's dessert recipes include-- either mandatorily or as a suggestion-- some kind of nuts, most often walnuts.) So I was legitimately excited about these cookies: I mean, they have butter in their name. Plus, they include coffee (I mean, instant, but still).

So I figured these cookies would be incredible-- like a moister, grown-up version of a Pecan Sandy, with just a hint of coffee throughout. But... well, I was wrong.

Part of this may be my fault: the recipe calls for 'instant coffee,' which, to me, means instant coffee powder, because if it was it was meant to be instant coffee dissolved in water, wouldn't you just say 'coffee?' Also, the recipe says to 'sift flour, sugar, salt and coffee,' and since I obviously can't sift liquid coffee, I figured it was powder that would then dissolve when the butter in the cookies melted in the oven. It's possible I was wrong about this, because the instant coffee did nothing but burn. It's also possible that something else went drastically awry here, because there was only supposed to be 2 teaspoons of coffee in the recipe, and even if it was liquid coffee, that was still not enough to moisten the dough enough for it to stick together. (I know this because I tried, after the 'powdered coffee' route ended so badly, to re-do the recipe with liquid coffee. It was equally unsuccessful.)

The dough was too dry, so not only did I have to handle it much more than I should have to get it to stick together (which itself made the cookies tough), but also I couldn't 'flatten' the cookies with a sugar-dipped glass because they were so dry that as soon as I tried to, the balls of dough just kind of exploded all over my cookie sheet.

But I tried to bake these anyway, and then this happened on the first batch:

So I knew it was just not meant to be. I still had some cookies that didn't get dropped, so I tasted them and they were terrible. They somehow managed to be both too tough AND too crumbly, and the instant coffee didn't dissolve at all, so it gave the cookies a weird graininess and a burned flavour because, hello, you're not supposed to cook instant coffee unless there is enough other liquid in the recipe to dissolve it.

New! One year ago: Tuna Teriyaki

The verdict:

0 spoons out of five. These cookies sucked.

The recipe:

Walnut Butter Cookies

the directions:

Preheat oven to 150C/300F.
Sift together flour, sugar, salt, and coffee in a medium bowl.
Cut in butter with a pastry blender until it is the size of small peas.
Press dough together and shape into small balls.
Roll each ball in walnuts, place 2” apart on a baking sheet, and press flat with the bottom of a glass dipped in sugar.
Bake 15-20 minutes until edges are slightly brown.

Yields 3 dozen.

the ingredients:

1 ½ c flour
½ c sugar
¼ tsp salt
2 tsp instant coffee
1 c butter
¾ c walnuts, chopped