Chicken Casserole

Here is an awesome fact about my family: My mom was born the exact day Marty McFly goes back to in Back to the Future, and I was born on the exact day that he returns to the present. This is what that should tell you about me and my mom: my mom was 30 when I was born, our birthdays are a week apart (and coming up soon!), and we are awesome.

When I realised that yesterday was 'Back to the Future Day,' the date in Back to the Future II that Marty arrives at when he jumps into the future, I was stoked to be able to go see the movie in a real theatre. We got dinner at a local American restaurant with some friends and caught a late showing of the movie, and when we walked home at 11:30 last night, it was so mild I didn't even zip up my coat. I was so excited that we were having a mild day with no wind at all, that I drastically underdressed for work today, was freezing all day, and spent most of my waking hours pining for something as cosy and warming as this casserole was when I made it last week.

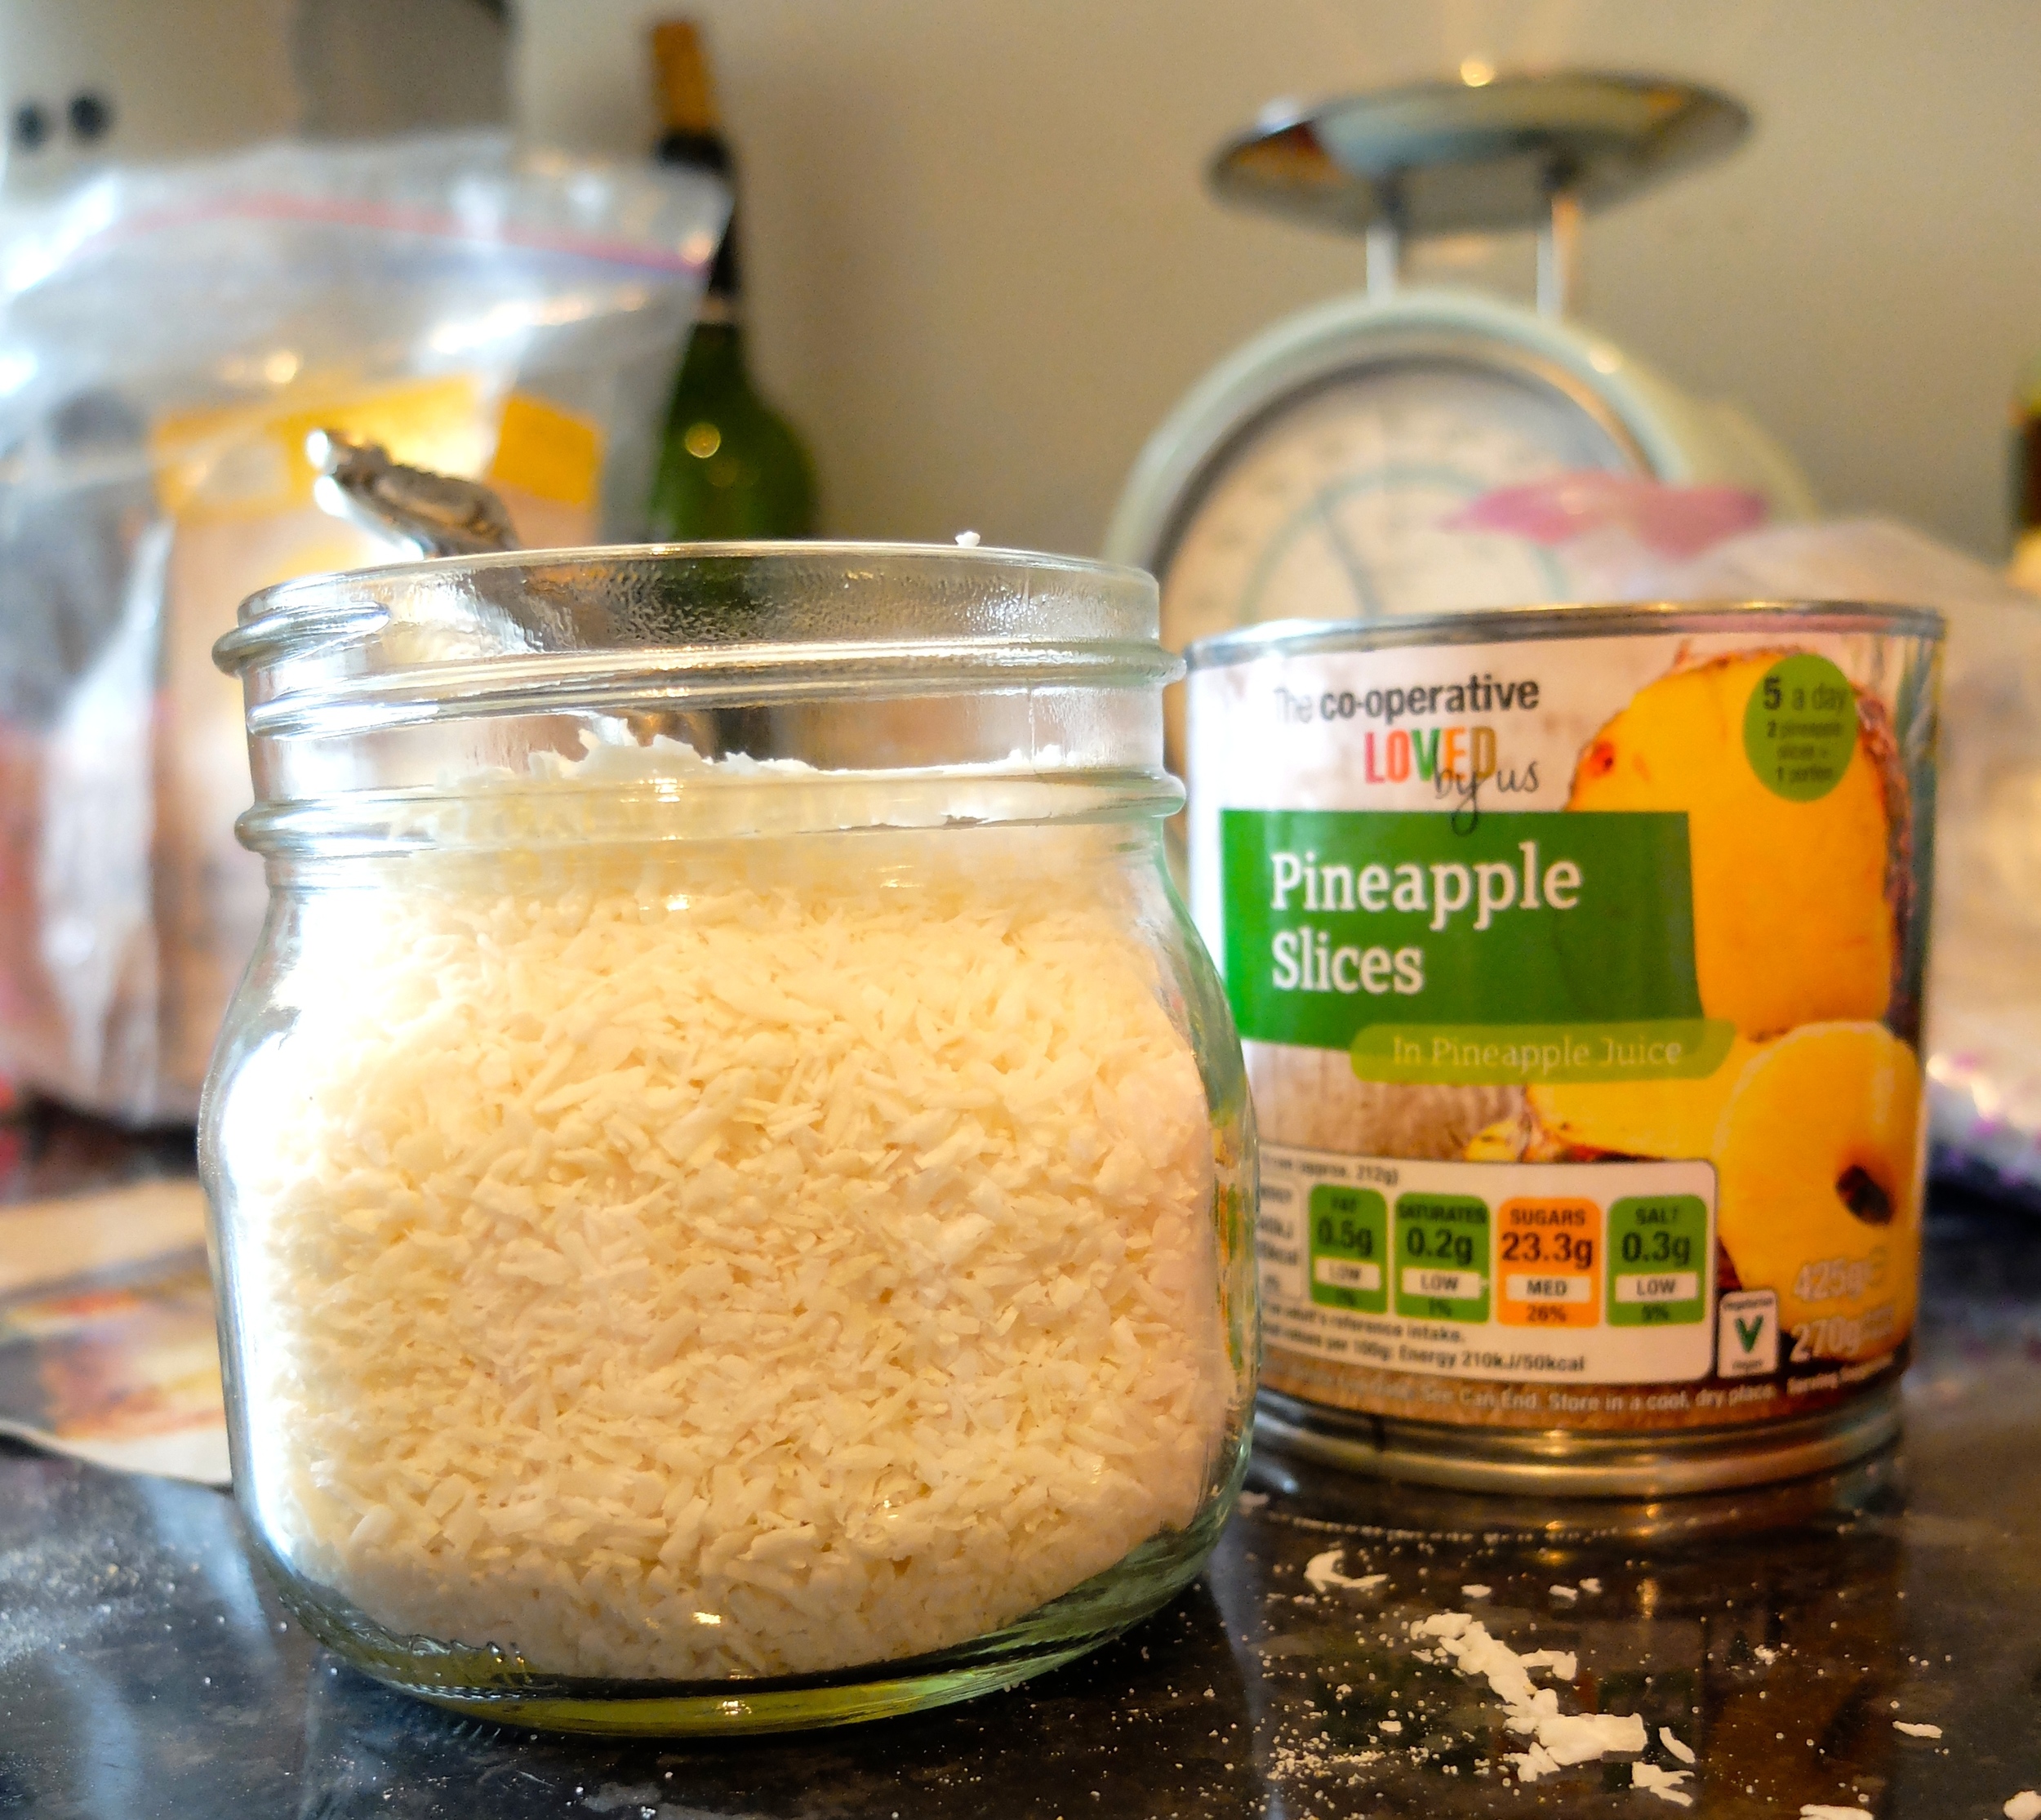
Originally I was putting off making this casserole until it got closer to the new year, because the recipe card that it's on reads 'here are a couple of recipes you will want to clip and save to start 1989 out right,' and I thought it was hilarious that the date is almost exactly 27 years in the past... but then, as often happens, I got hungry, and so we made the chicken casserole for dinner last week. Eleanor had left some pencilled in notes on this one because she apparently only ever made it as a half-recipe, so I followed her lead and cut the whole thing in half (not least because I don't have a single piece of crockery that could hold 2 entire chickens, even if they are cut up).*

Let's be honest: casseroles aren't a cool dish. They're not cool to make, they're definitely not cool to like, and they're even too uncool to serve to a dinner guest. But I still like them, especially ones like this that are hearty and warm, without leaving you feeling as though you just ate a brick after you finish your meal. And the older I get, the more I realise the benefits of a good casserole: All the dishes are washed before you sit down to eat! There're always leftovers! Said leftovers reheat like a charm! Bone-in chicken is so much cheaper than cutlets! The house smells amazing!

We ate it for dinner one night and then were both excited to reheat it the next evening. It's an easy dish to match with any vegetable that's in season, so we had it with a fig-and-green salad. It would go just as perfectly with a tray of roasted veggies, which would be easy to pop into the oven during the last half-hour of cooking.

*I laughed when I realised she had written the halved measurements next to every single ingredient, even the obvious ones like '1 can of soup,' where she crossed out the one and wrote '½' in the margin. I was mocking Eleanor in my head for this, until I remembered how many times I've cut a recipe in half mentally and forgotten to reduce one ingredient, ruining the entire meal. Clearly she was onto something. The version below is cut in half; it could easily and accurately be doubled to serve twice as many... if you have a dish big enough to cook it.

The verdict:

4 spoons out of five. It's delicious, it's warm, it's super easy, and if you're in for a sudden burst of Arctic weather like we were today, it should already be in your oven by now.

I made judson buy this le creuset for me last time we were in the US because it's a colour that's not sold in britain and then we had to carry it home on a plane and i regret nothing!

I made judson buy this le creuset for me last time we were in the US because it's a colour that's not sold in britain and then we had to carry it home on a plane and i regret nothing!

The recipe:

Chicken Casserole

the directions:

Preheat oven to 160C/325F and grease a large roasting pan.
Mix together can of soup, milk, and rice and pour into the roasting pan.
Lay chicken on top of rice mixture, then sprinkle the dry soup mix over the entire dish, pressing in a bit where necessary.
Cover and bake for 2 hours.
Uncover the dish and bake for an additional 15 minutes to allow it to brown on top.

Serves 4 heartily, or 6 petitely with side dishes.

the ingredients:

1 can cream of mushroom or cream of celery soup
1 ¼ cans milk
1 cup long-grain rice (we used a mixture of basmati and wild rice)
1 chicken, cut up and rubbed liberally with salt and pepper
1 package dry onion soup mix (if you live in the US where you can get Lipton, use it and pour some out for me. I haven't yet found a place that sells it over here, and I do miss cooking with it so much!)

Chili & Cornbread: Autumn Fare

Did you ever stop to think about how 'chilly' and 'chili' mean literally opposite things, but that when the weather turns into the former, all you want to eat is the latter?
Well, I have.

Here's a fun chili story: while Judson and I were dating, I moved into an apartment in an old schoolhouse. My flat was amazing: there were floor to ceiling windows lining one entire wall, and a chalkboard running the length of another wall. I had a pool and a designated parking spot in the busiest neighborhood in town, and it was awesome. So, shortly after moving in, of course I decided to host a game night and dinner party for some friends. Judson, as my co-host, agreed to help me plan the menu, and together we decided on chili and cornbread.

But then we hit our first snag: we both wanted to make our mom's chili recipe. I thought I should get priority because we were hosting the game night in my house, and Judson thought he should get priority because we were using his games. Eventually, we came to the conclusion that we would each get our own mother's recipe, and then compare them to see which one sounded more delicious, and make that one. (Full disclosure: there was a bit of a heated discussion involved in achieving this compromise).

We phoned our moms, diligently wrote down their recipes word for word as they were dictated to us, and then compared notes. But here's what we found: our moms' chili recipes were exactly the same. And what's better? Both of our moms, upon being asked for their chili recipes, responded in kind with some variation of 'I mean, you brown some meat, and some onions and some bell peppers, and then you season it and then you cook it until it looks like chili. I dunno!'

Crisis was averted as we realised we'd be able to make both of our moms' recipes simultaneously, but it would be another year or so before we realised that what this really meant is that we both grew up eating pretty basic chili. Since then, we've figured out how to make it our own, and while we both still prefer a version similar to what we grew up with, we've added toppings and spices and different cooking methods to make it in our own Cowan way.

And ever since that evening in my schoolhouse apartment, not an autumn has gone by that has not seen us brewing up a big pot of chili and inviting our friends over to take part. So when I realised autumn was upon us, I was excited to search out a chili recipe from the box. Eleanor had good taste in cosy foods, and my mom had to have learned her recipe from somewhere, so I assumed this would be a bit of a copout and I'd get to make my favourite chili recipe and still call it a blog entry.

Yeah, you try taking a picture of a bowl of chili and making it look delicious. It's harder than it sounds.

Yeah, you try taking a picture of a bowl of chili and making it look delicious. It's harder than it sounds.

But then I read the recipe. There are only three ingredients listed on it, and here they are:

'5 salts.'
'2 T powder.'
'½ + sugar.'

Ahem. So this one required quite a bit of ingenuity on my part, to say the least. But we were having friends over, so it was the perfect time to try this out, and on this recipe, Eleanor did not fail me (though her vague notes may mean she was trying to). Additionally, we served it with cornbread, as all chili should be, and though I don't have one of those cast-iron pans that makes cornbread in the shape of an ear of corn, it was still delicious.

The verdict:
the chili:

Look at the crumb on that cornbread! look at it!

Look at the crumb on that cornbread! look at it!

5 spoons out of five. This may not be a new dish, but it's classic, comforting, warming, and hearty, and most of all, it's delicious. Make this for some friends, and serve it with pride. Your house will smell amazing, and you'll never feel cosier than you do curled up with friends and a bowl of this chili.

The cornbread:

4 spoons out of five. This cornbread is perfect for what it is (authentic, rustic cornbread). But nowadays the prevalence of Jiffy cornbread mix and Boston Market has made everyone think cornbread should be sweet, and this isn't. So for that, I'm docking a spoon-- just so you don't make it and think that it's boring in it's plainness. Important note: if you, like me in real life but not like me on this blog, are not into following recipes to the letter, then dress this up as you wish. A handful of pickled jalapeños give it kick; some chopped up queso fresco will make it creamier and less crumbly; reducing the butter by a few tablespoons and swapping it with honey will make a sweeter bread; adding in some freshly shucked corn or thawed frozen creamed corn will make a more rustic bread. If you have a corn-ear cast-iron pan, then I am jealous and you should make this in it. If you don't, use a skillet for maximum back-woods-ness. Failing either of these, a round layer cake pan or an 8x8 square pan work just fine.

The recipe:

Classic Chili

the directions:

Chop the onions and saute in a spoonful of oil until soft and translucent.
Add beef and brown over medium heat.
Add chili powder, salt, and green pepper, stirring to combine.
Add well-drained beans and undrained tomatoes.
Stir well, then add sugar to taste.
Stir again and let simmer, uncovered over low heat for at least 10 minutes or until desired consistency (I usually simmer mine for about 40 minutes).

Serve with garnishes as listed above, and fresh warm cornbread.


the ingredients:

2 yellow onions, chopped coarsely
1 lb ground beef
1 green bell pepper, chopped coarsely
2 tbsp chili powder
2 tsp salt (+ more to taste)
2 cans kidney beans, well-drained
3 cans tomatoes, not drained
1-2 tbsp sugar

optional (but recommended) additions:

Red pepper
Black pepper
3 cloves chopped garlic, stirred in with the chili powder

Garnishes:

Sour cream
Fresh chilies, chopped
Pickled jalapenos
Sharp cheddar cheese, grated
Hot sauce

The recipe:

Classic, Unsweetened Cornbread

THE DIRECTIONS:

Preheat oven to 218C/425F.
Grease an 8x8 pan or a cast-iron, ovensafe skillet.
Sift flour once, then measure it into your mixing bowl.
Add baking powder, sugar, and salt, and sift again.
Add corn meal or polenta and mix well.
In a separate bowl, combine eggs and milk and beat well.
Add egg mixture to dry ingredients, stirring until combined.
Pour melted butter into batter and stir until texture is uniform.
Bake 30-40 minutes, until brown and firm on top.

Serve with a steaming bowl of chili. Best served fresh within a day of making it, but will last for up to four days at room temperature.

the ingredients:

1 ¼ c flour
2 ¼ c baking powder
2 tbsp sugar
1 tsp salt
1 c cornmeal (in the UK, this will likely be labelled as polenta, and sold in fine-coarse varieties. I recommend coarse yellow polenta. Do not substitute Jiffy cornbread mix from the American grocery store for this, as it won't work)
2 eggs, beaten well
1 ¼ c milk
4 tbsp butter, melted

Piña Colada Cookies & Apricot-Cashew Drops

Cooking is not always glamourous. There are far too many disasters in my experience, and lately I've been on a roll with the disasters. Although sometimes entertaining, there's always something frustrating about slaving over a recipe, planning to take it to work or serve it to friends, and then having it inexplicably go awry. (Eleanor and her friends knew all about this: my great-aunt Margie once dumped an entire lasagna on kitchen floor immediately before a dinner party, then scooped it up and served it anyway because 'what they don't know won't hurt 'em.')

All that considered, I wasn't super excited about finishing the last two variations on this recipe sheet. There were 6 recipes on this page of Better Homes & Gardens from 1977, and when I made the first 2, they were good but just kind of boring.

I made the second 2 variations, and they were both complete disasters. Although they tasted great, they spread so much that they were all stuck together and ended up crumbling into bits as soon as I tried to scrape them off the cookie sheet.

So when I decided to make the final two variations, I figured it was a 50/50 chance they'd be edible. But I was hoping they'd work, because pineapple-coconut cookies? Yes, please. I avoided all of the things I thought could have gone wrong the disastrous time, and proceeded as directed, and what do you know? They came out delicious! ( It is not out of the realm of possibility that this is because I found Cookeen-- a new shortening substitute that is-- so far-- working better than Stork did for me!)

Weirdly, the piña colada cookies were a lot more boring than the apricot ones, and across the board everyone who tasted them agreed. The coconut and pineapple kind of blended into the dough and didn't really come across well, and the acid in the pineappe made the dough a bit grainier than I wanted it to be. The apricot-cashew cookies, though? Like manna from heaven! The apricots gave the dough an amazing chewiness, and the cashews added just the right amount of crunch.

Not wanting two entire batches of cookies in the house, I opted to take these into work with me. (This is no mean feat for me: Judson takes my blog creations into work all the time, but I am always really self-conscious about people eating things I made in front of me, so I kind of hate doing it. Also, the first time I brought a pie into my current job, a co-worker told me she didn't want any because 'she doesn't eat meat before noon,' and I was so thrown off I still haven't really recovered.) I kind of figured they'd get eaten, but that no one would really love them; I mean, apricot cookies? They don't sound nearly as exciting as chocolate chip, or even as classic as peanut butter. But lo and behold, my coworkers loved them, and both batches were gone by the time lunch rolled around.

Maybe now I'll be brave enough to bring my next cheesecake into my office... We'll have to see!

The verdict:

5 spoons out of five for the apricot-cashew cookies. I was disappointed I only got two of these, they were so good, and I can't wait to make them again.

3 spoons out of five for the piña colada cookies. They're still delicious and a fun and tropical take on normal cookies, but the flavours of the pineapple and coconut are a bit lost in the sweet dough, and I wanted a more coconutty flavour.

The recipe:

Pineapple-Coconut Cookies

the directions:

Preheat oven to 190C/375F.
Grease two cookie sheets.
Cream together sugars, butter, shortening, egg, and vanilla.
In a separate bowl, stir together four, salt, baking soda, and ginger.
Stir flour into creamed mixture and blend well.
Add coconut, pineapple, and walnuts and stir well.
Drop from a rounded teaspoon onto greased cookie sheet 2 inches apart.
Use a teaspoon! A larger spoon is far too big and won't let the cookies rise properly.
Bake 8-10 minutes until golden brown, then remove from the oven, let cool for 30 seconds, and move to a cooling rack.

Yields 36 cookies.

the ingredients:

½ c sugar
¼ c brown sugar, packed
¼ c butter
¼ c shortening (or Cookeen if you're in Britain)
1 egg
1 tsp vanilla
1 ¼ c flour
¾ tsp salt
½ tsp baking soda
¼ tsp ginger
½ c desiccated coconut (or more if using flaked coconut)
½ c drained crushed pineapple (or whiz some regular pineapple in the food processor if you live in the UK and can't find crushed)
½ c walnuts, chopped coarsely

THE RECIPE:

Apricot-Cashew Drops

THE DIRECTIONS:

Preheat oven to 190C/375F.
Grease two cookie sheets.
Cream together sugars, butter, shortening, egg, and vanilla.
In a separate bowl, stir together four, salt, and baking soda.
Stir flour into creamed mixture and blend well.
Add apricots and cashews and stir well.
Drop from a rounded teaspoon onto greased cookie sheet 2 inches apart.
Use a teaspoon! A larger spoon is far too big and won't let the cookies rise properly.
Bake 8-10 minutes until golden brown, then remove from the oven, let cool for 30 seconds, and move to a cooling rack.

Yields 36 cookies.

THE INGREDIENTS:

½ c sugar
¼ c brown sugar, packed
¼ c butter
¼ c shortening (or Cookeen if you're in Britain)
1 egg
1 tsp vanilla
1 ¼ c flour
¾ tsp salt
½ tsp baking soda
½ c dried apricots, snipped into bite-sized bits
½ c cashews, chopped coarsely