
Tuna Steaks in Teriyaki Sauce
/The original title of this recipe, as listed on the newspaper clipping it came from, is "Fish and Vegetables in Foil." AKA the most self-explanatory (and blah) name in the history of food, so I changed the name, but obviously not the recipe.
This week Judson is working his fingers to the bone on an illustration he did that's going to be featured in a magazine, so I've been on my own making dinners for us. This one is perfect for that because everything is prepped together so there's no worry that the sides will be done before the main course, or that everything is going to get cold because you forgot to preheat the oven.
I guess the idea of cooking food in foil packets had to have been novel at some point, but it's still a foreign concept to me to cut out and preserve a recipe that is basically just "put all ingredients in foil then bake." Anyway, Eleanor thought it was worth cutting out, so I made it and we liked it. It's easy, cheap, and makes a great weeknight meal because the cleanup is practically non-existent. (Plus, you can cheat and buy your teriyaki sauce already made. Bam.)
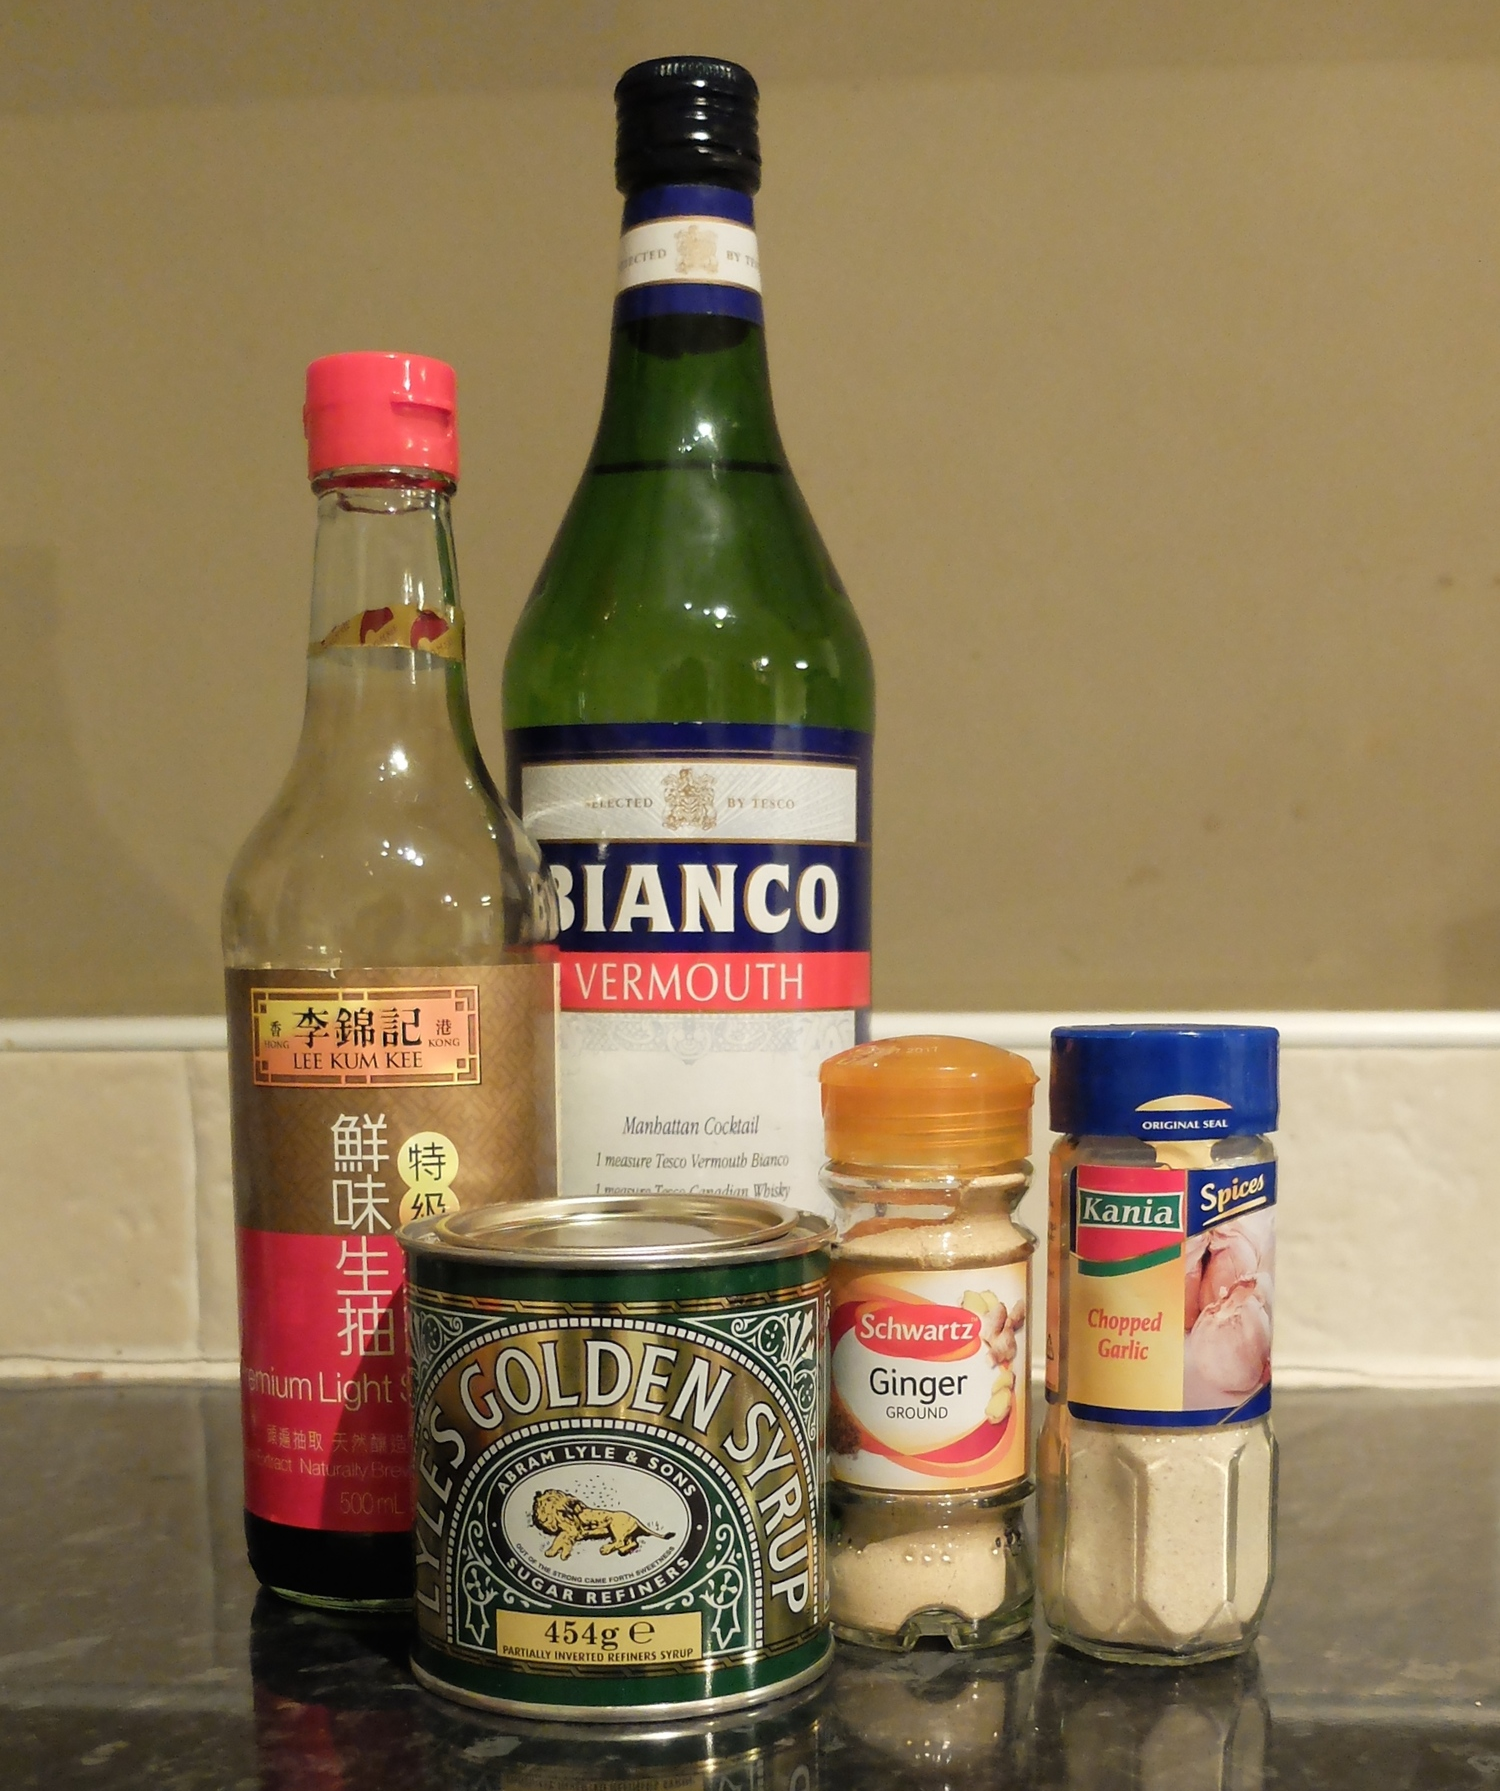

Some notes on ingredients: One of the rules of this project is that I make NO substitutions, to the extent that I am able. I've so far been able to find most ingredients that I needed, but that all changed today after trips to two different grocery stores looking for corn syrup brought me up empty-handed. I presume that back in Eleanor's day the lack of scare tactics surrounding high-fructose corn syrup meant that it was much more readily available for her than it is for me now. I don't know if corn syrup is just not available here in the UK, or more likely, if it's just not available at my grocery stores, but either way, I had to come up with a solution to make the teriyaki sauce listed below.
I ended up with Lyle's Golden Syrup, which I've mentioned before. It's a byproduct of refining sugar and kind of tastes like a cross between corn syrup and honey. We put it on sausage all the time at breakfast, and it's delicious. Also, it comes in a paint can, so it's one of my favourite weird British condiments for that reason alone. It worked great as a substitution in this recipe and if it's all you have on hand, go for it. Bonus: the logo on the can is a dead lion carcass filled with bees (it's a Biblical reference, but I fail to see the relevance, and, having worked in advertising for four years, I find it really strange their marketing team hasn't come up with a new logo that doesn't, you know, align their product with dead animals).
Last, I don't even like zucchini, but in the spirit of “don't deviate from the recipe,” I cooked up a zucchini and it was delicious. Tuna works great in this dish because it's an Asian-inspired set of flavours, so get tuna steaks if you can. Otherwise, salmon or any other firm, steak-y fish would be great, too.
The Verdict:
3 Spoons out of 5. It's good, but it's also simple and kind of boring. Definitely worth making on a night when you don't want pizza but also don't want to have any dishes to wash.

THE RECIPE:
Tuna Steaks in Teriyaki Sauce
THE INGREDIENTS:
FISH:
2 fish fillets or steaks (approximately ¾ lb total)*
foil
2 carrots
4 green onions
2 small zucchinis (courgettes if you're on my side of the pond)
1 small sweet pepper
THE DIRECTIONS:
Fish:
Preheat oven to 425F/218C.
Pat fish dry.
Place each piece of fish on an individual sheet of foil large enough to wrap all the way around the fish and veggies.
Slice all vegetables diagonally, divide in half and layer on top of fish.
Pour teriyaki sauce over each portion.
Bring the edges of the foil together and crimp them.
Place on baking sheet and bake 12 minutes per inch of thickness, until fish is just opaque (if using tuna, fish does not need to be opaque but should begin to flake when poked with a fork and should still be pink in the center).
*Original recipe calls for frozen fish, so if you want to go that route you definitely can. We used fresh tuna steaks and they were great.
Teriyaki Sauce:
2 tbsp + 2 tsp soy sauce
2 tbsp + 2 tsp white wine or vermouth
2 tbsp light corn syrup (or golden syrup)
¼ tsp ground ginger
¼ tsp garlic powder
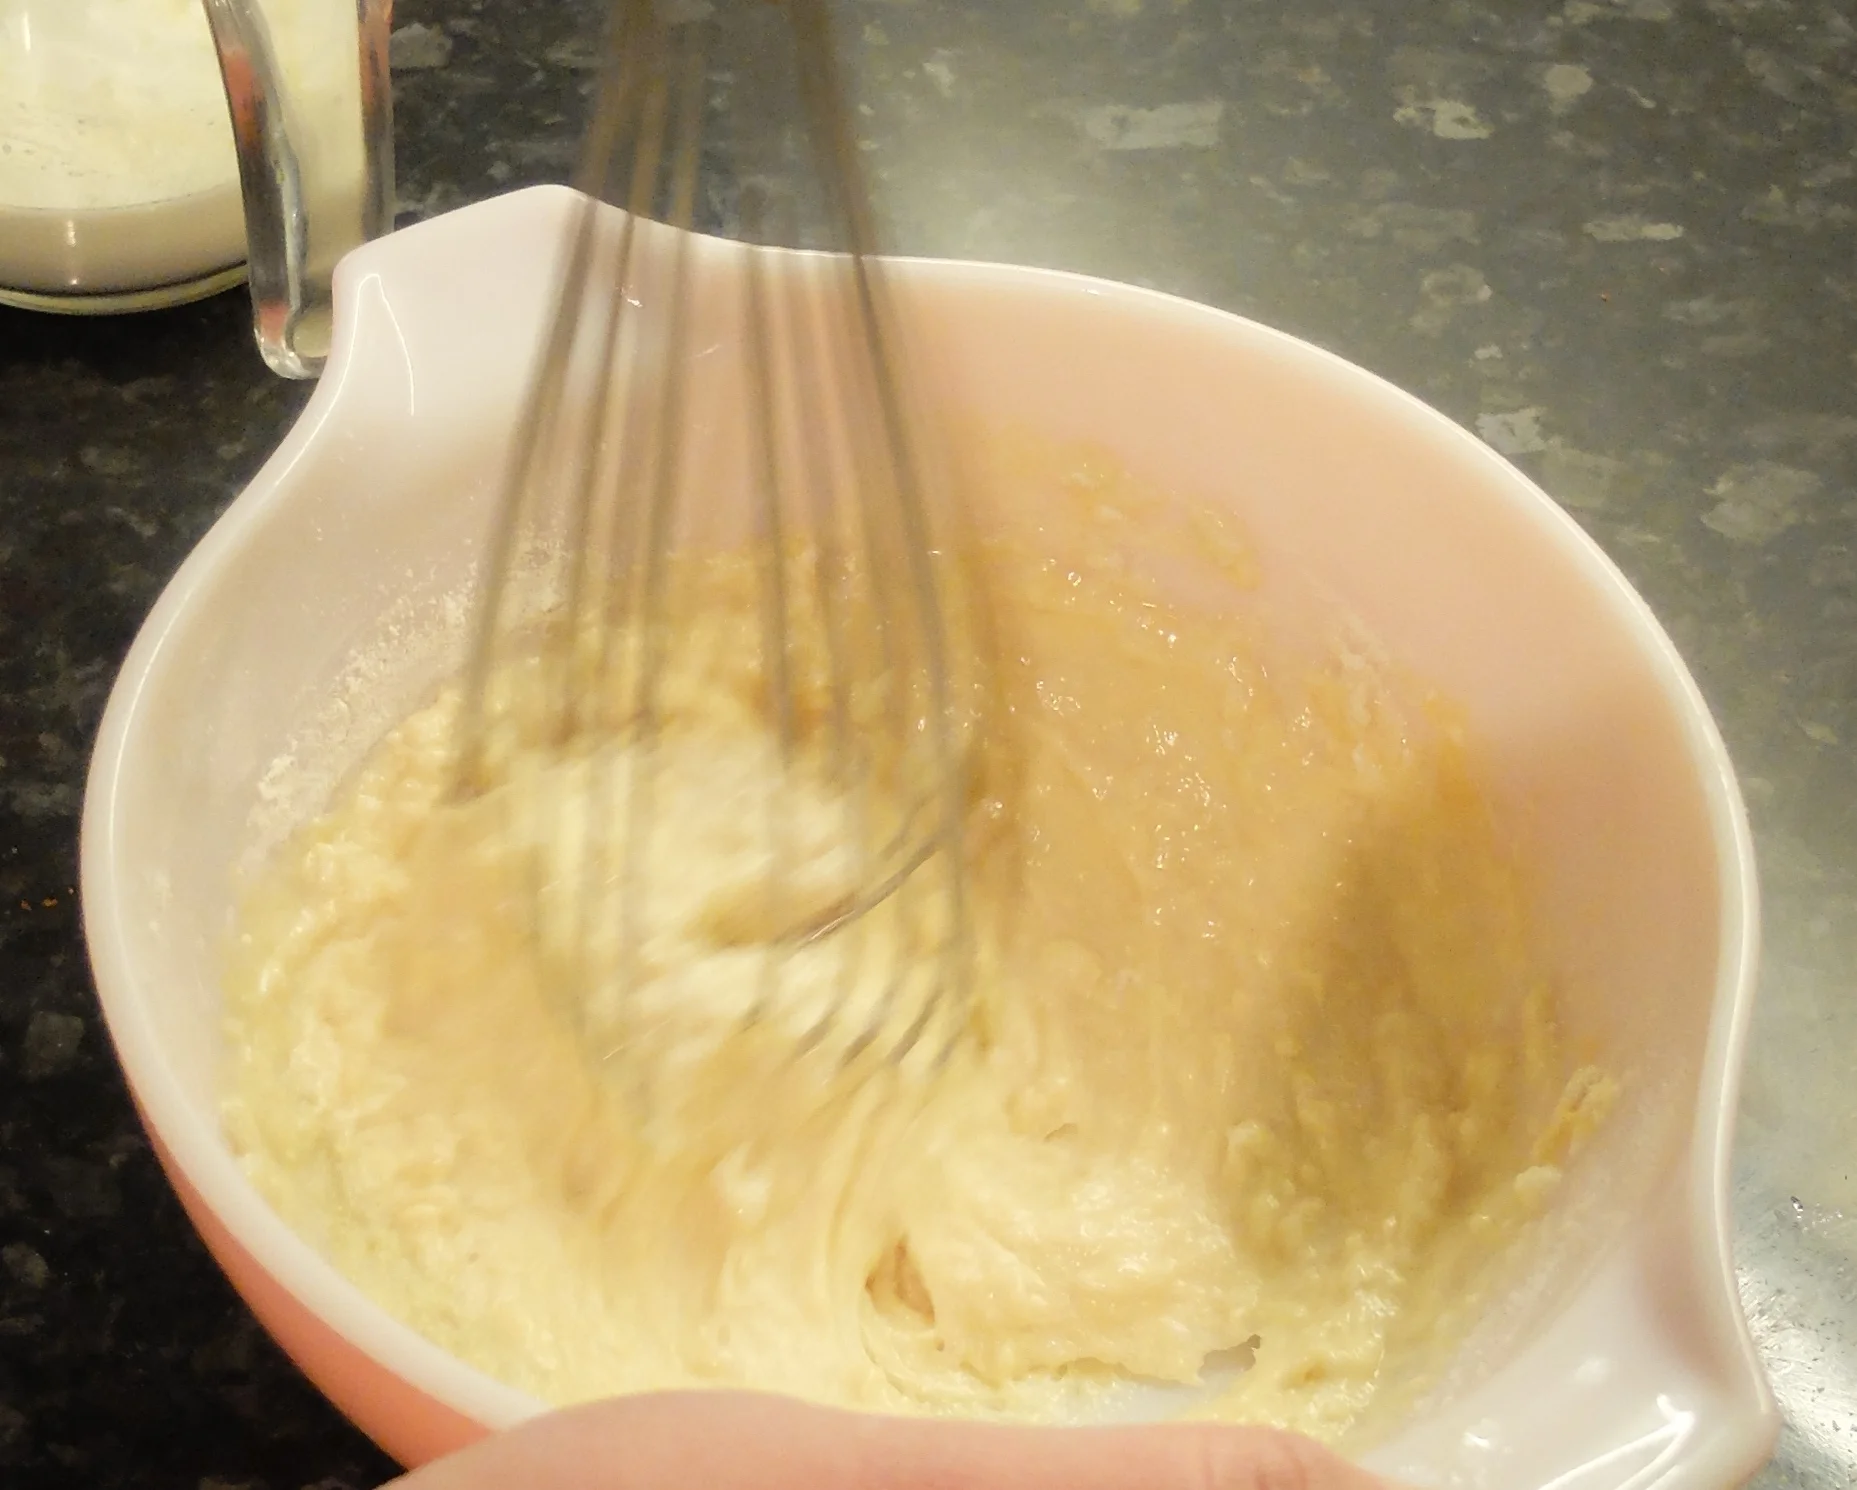
TERIYAKI SAUCE:
Mix all ingredients together and let sit for 15 minutes or up to overnight.
Recipe scales up easily, but if you only need enough for two servings of fish, this will get the job done.